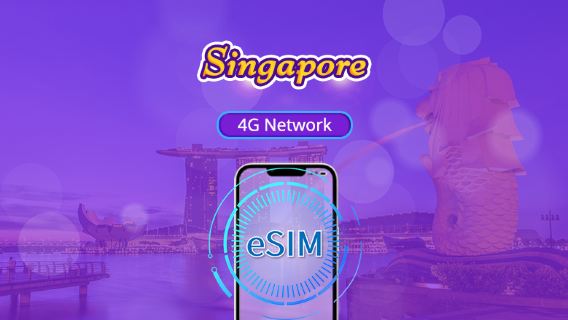
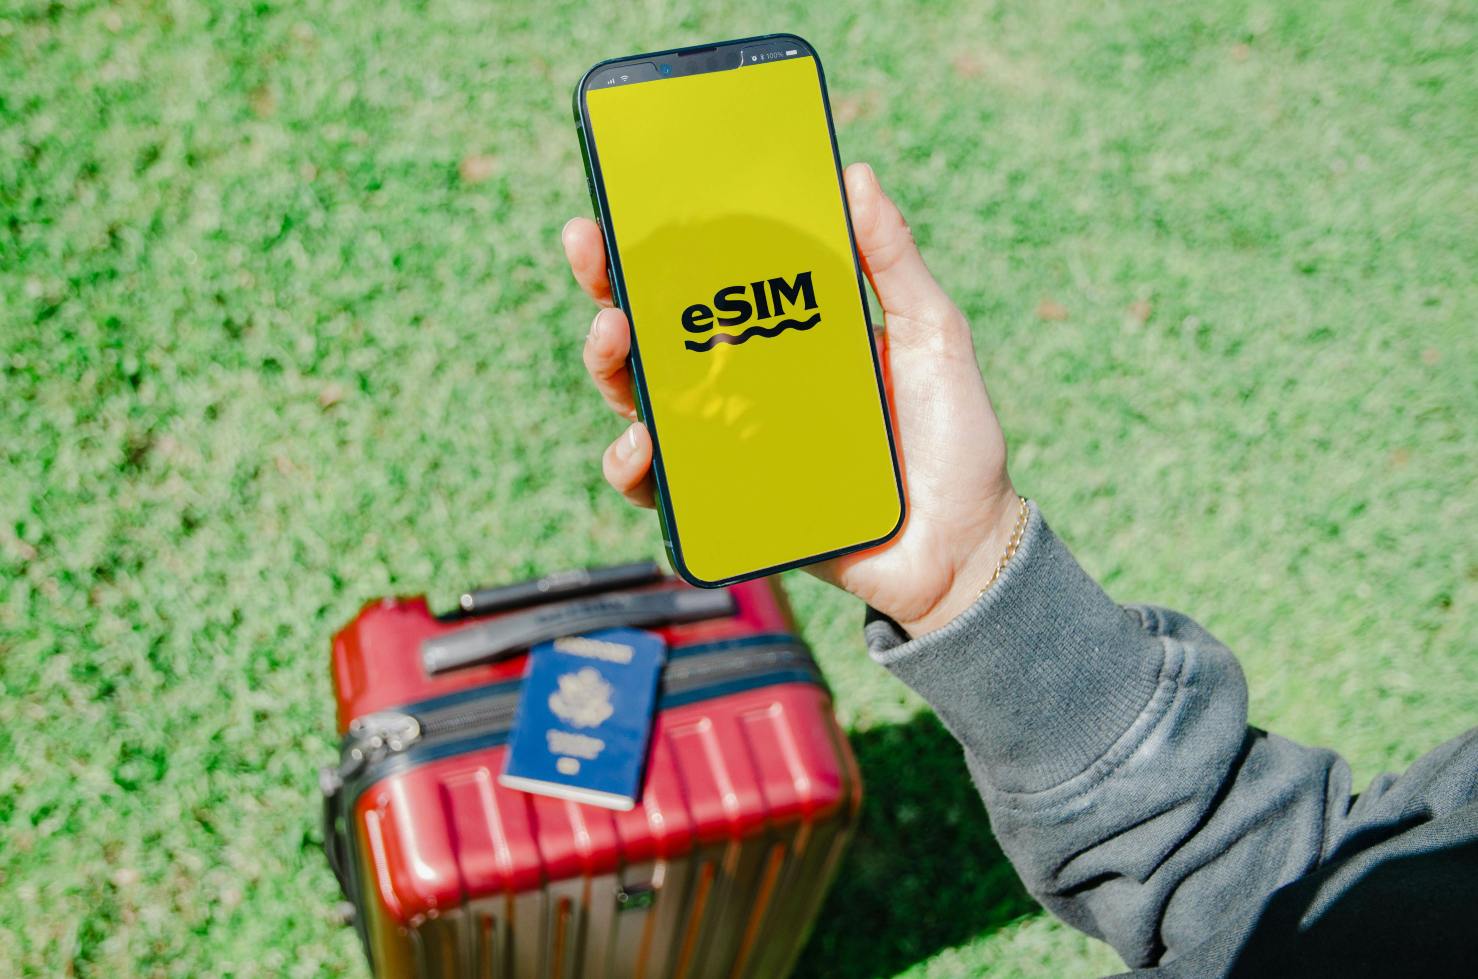
Best eSIM for Singapore Travellers
Stay connected in Singapore for less than AU$0.14 per day.
Need other flexible options? Customise & select from our featured Singapore eSIMs products!
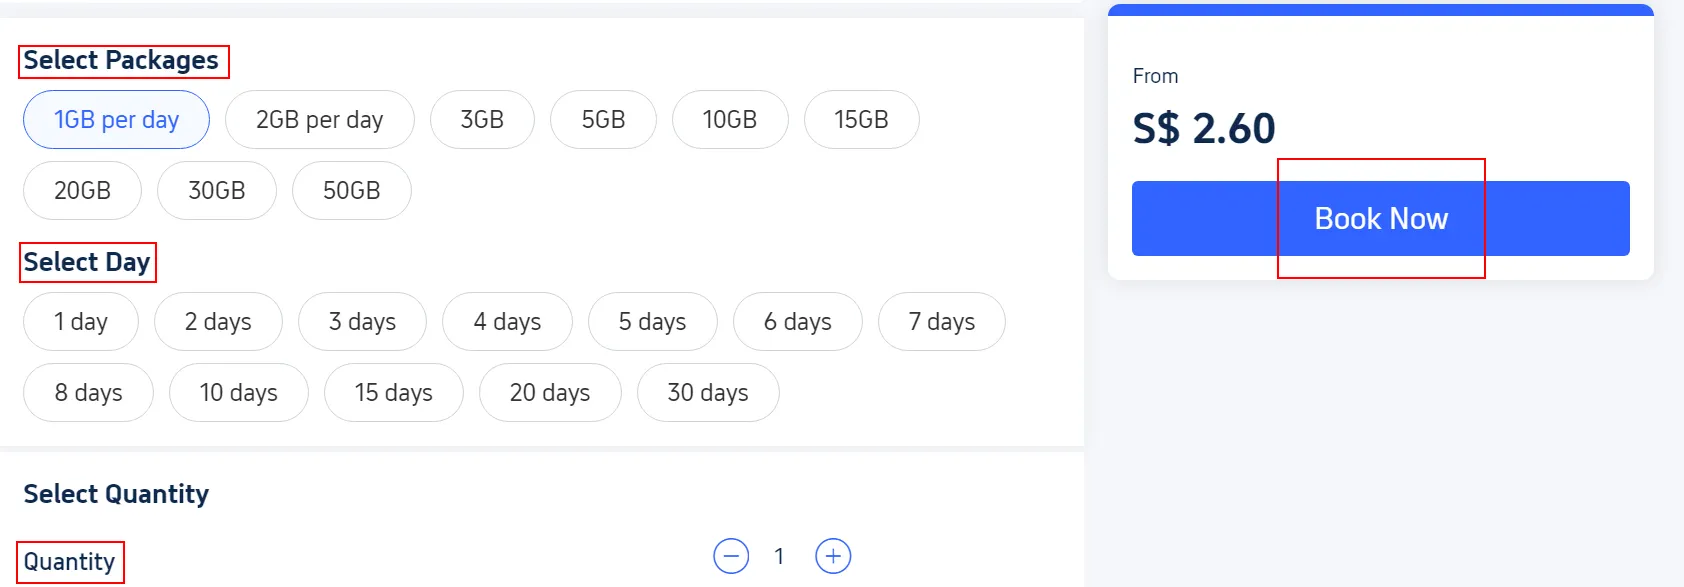
Singapore 5G eSIM
- CoverageSingapore
- Data500M to 100GB
- Validity1 to 30 Days
- PriceFrom AU$0.14
- Reviews (4.7 ★)212 reviews
- Bookings5,000+ bookings
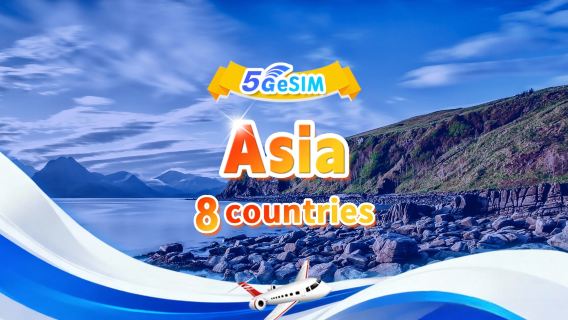
Southeast Asia 5G eSIM
- CoverageSingapore/Malaysia/Indonesia
- Data500M to 100GB
- Validity1 to 30 Days
- PriceFrom AU$0.24
- Reviews (4.6 ★)1,990 reviews
- Bookings51,000+ bookings
Singapore eSIM
- CoverageSingapore
- Data500M to 100GB
- Validity1 to 30 Days
- PriceFrom AU$0.14
- Reviews (4.7 ★)889 reviews
- Bookings24,000+ bookings

 157501 booked